Dear Constant Reader,
It’s sour cherry season at The Manor! Well, it was sour cherry season — we finished picking the other day. As I write this, I’m listening to the birds chirping as they eat the last of the fruit still lingering on the tree. I’ve still got pounds and pounds of cherries to use, and I’ve been working away in the kitchen like mad for the past two weeks.
I had the troupe and apprentices over to teach them how to make old-school G-strings (instructions are in Miss Mina Murray’s Little Book of Burlesque Costuming!) and served them this cherry pie, from the 1953 cookbook 250 Superb Pies and Pastries.

It’s very simple to make and the presentation is lovely. Bonus: you don’t have to deal with a top crust.
You will need:
 Sugar, cornstarch, tapioca, salt, cherries, butter, heavy cream, and vanilla.
First, make a pie crust for a 9″ pan. The recipe I used is below, but you could use your favorite recipe or even buy a crust. I promise I won’t judge.
Mix up the sugar, salt, cornstarch, tapioca, and pitted cherries and pour into the prepared crust. Dot with butter. Bake at a high temperature for a short time then reduce the heat to moderate and bake until done.
Let the pie cool and the filling thicken.
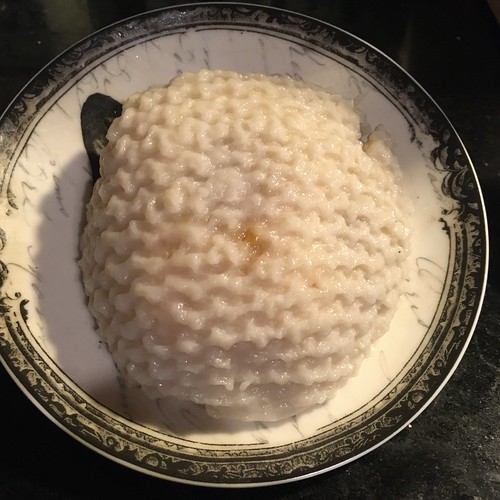
Whip heavy cream to soft peaks, add sugar and vanilla and beat until stiff. Spread around the pie, leaving the center open, so it looks like a halo.
Judging from the amount left over (none!), this one was a winner.
Cherry Halo Pie
1 1/4 cups sugar
1 Tablespoon cornstarch
2 Tablespoons quick-cooking tapioca
1/4 teaspoon salt
1 quart cherries, pitted
1 Tablespoon butter, cut into small pieces
1 recipe Plain Pastry
1 recipe Whipped Cream Topping
Mix sugar, salt, cornstarch, tapioca, and cherries together. Line 9″ pie pan with pastry, add cherry mixture. Dot cherries with butter.
Bake at 450F for 10 minutes; reduce temperature to 350F and bake 25 minutes longer.
Let cool. Spread 1 recipe Whipped Cream Topping around pie, leaving the cherries in center uncovered.
Plain Pastry
2 cups sifted flour
3/4 teaspoon salt
2/3 cup shortening
4 to 6 Tablespoons ice water
Sift flour and salt together and cut in shortening. Add water a little at a time until mixture will hold together.
Divide dough into 2 parts. Roll one out on a floured board. Line the piepan with it.
This makes two crusts. Since the pie only needs one, you can freeze the other piece of dough until you need it.
Whipped Cream Topping
1 cup heavy cream
1/4 cup sugar
1 teaspoon vanilla
Whip cream until it make soft peaks. Add sugar and vanilla and beat until cream holds stiff peaks. If you have the time, chill your beaters and bowl before whipping the cream and always make sure your cream is cold. It will whip much faster if everything is cold.
Enjoy!
 These writings and other creative projects are supported by my Patrons. Thank you so much! To become a Patron, go to my Patreon page. Or you can just tip me if you liked this.


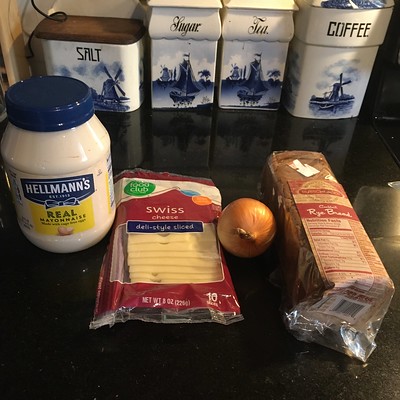 cocktail rye, chopped onion, mayonnaise, and Swiss cheese.
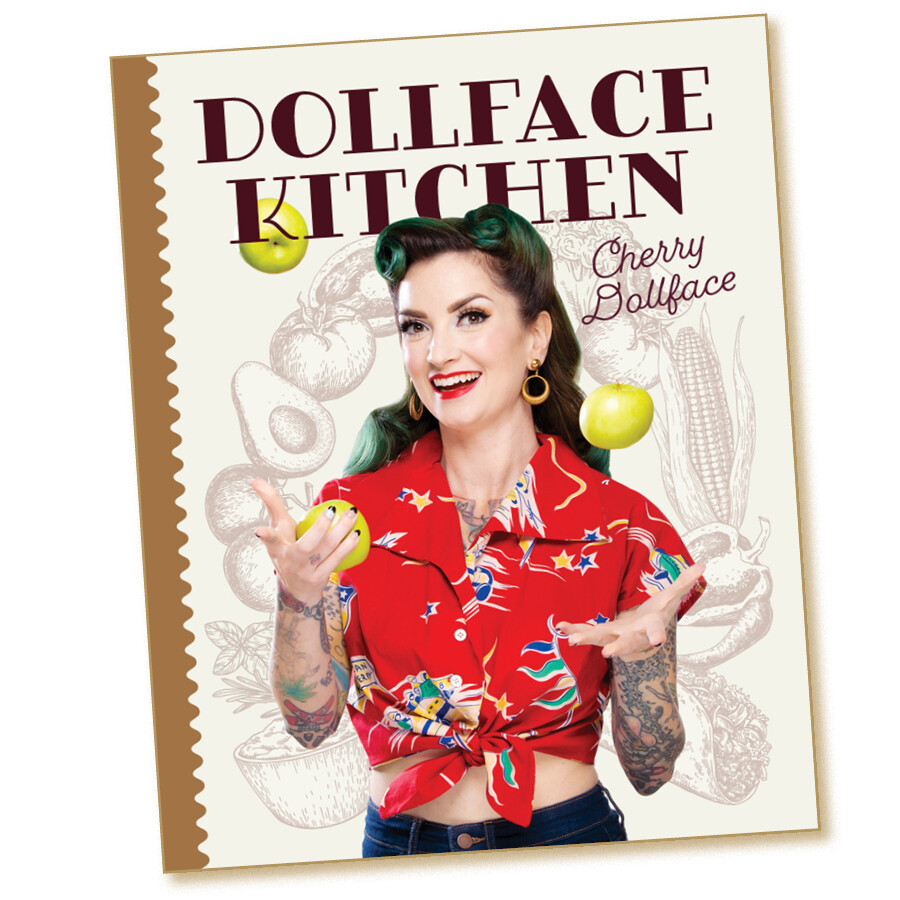
 I couldn’t review the book without making something. The “wonderful” vintage dessert Fudge Batter Pudding had the note “If you try any of my vintage recipes…try this bad boy!” So I did. You make a simple chocolate sauce that goes in the bottom of a baking pan, then you spoon a chocolate batter on top and bake. The result is a sort of brownie with a fudgy sauce underneath it. The cake part is on the dry side (it has no eggs and only a smidge of butter and milk), so it needs the sauce. When we had it cold the next day, a little cream poured over was a nice addition. It was easy to make and can be whipped up from pantry staples, so I’ll call it a win.