Dear Constant Reader,
The fun part of creating my new act for The House of Knyle mentorship program was the costume. No great shock. I love making costumes. For this act I wanted to go minimal — no gown, no gloves. The picture I had in my head was a panel skirt and bra. I like the contrast of the classic costume and the rock music.
As it turned out, I didn’t have to do too much sewing. I decided to use the bra, hip belt, g-string, and pasties from a Halloween fan dance. The base for all those pieces is black-on-black sequined fabric, which I embellished with jet, hemitite, and black diamond crystals, plus a few silver night skull rhinestones, just for fun.
 The bra is a Frederick’s of Hollywood Exxtreme Cleavage push-up. It’s so “exxtreme” that I had to take out the push-up pads. For the fan dance I took off the (removable) straps, but for this act, I put the straps back on and adorned them with large black diamond rhinestones. Despite all my tricks, a couple of stones decided to pop off every time I wore it. I think I finally solved the issue.
 The belt is styled after a bellydance hip belt. I love the deep V-shape. I also like how wide it is, that it’s a substantial costume piece, which makes for a nice reveal when it comes off. The only problem with that shape is that the point of the V can roll up. To keep the front nice and flat, I added a piece of boning inside. That does mean if I’m not careful, the whole thing can flip up. Embarrassing!
 The G-string is based on the pattern from my book. I used flat elastic instead of tubular and (with Scratch’s assistance) added some additional strappy bits. I also made a set of thigh garters, for that appealing butt definition. The pasties (not shown) are just standard round ones, encrusted with the three colors of rhinestone.
The only thing I needed to make was panels. I already have black and silver lace ones that I use with the belt, but they’re rectangles. I wanted really voluminous panels — a full circle in the back and a half circle in the front. I was thinking red to contrast with the black, but Scratch pointed out that I already had a set of red panels (though not as full and not compatible with the belt). I was hoping to find an impossibility — a fabric with some visual interest *and* a floaty drape. I settled on some wine-colored sheer fabric at 45″ wide. I was all set to buy it when Scratch found an identical fabric over in the draperies section. Same color, same hand, same price per yard, except it was 110″ wide. Score!
 Cutting the panels wasn’t too bad. I’m very lucky that Albert isn’t one of those cats who needs to sprawl on fabric. It was hemming them that was going to be a problem. I wanted a tiny rolled hem and I usually do those by hand. A rolled hem is a thing of beauty, but it’s slow going. I had an awful lot of hem and not a lot of time. Fortunately I have a rolled hem foot on my sewing machine. Time to learn how to use it.
Oh my goodness, it was lovely! It made such a beautiful tiny hem! There was hardly even any cursing as I figured out how to use it. Even with the machine, it took me quite a while to get the hems done. It made such a difference rehearsing with the actual costume pieces and all that lovely yardage! I changed some of my choreography to take advantage of them.
I am so happy with how the panels came out! I used the same snap tape as the previous lace panels, so both sets are all compatible with the same belt (this trick was a Friday Tip). By the way, panel skirts are going to be one of the topics for Miss Mina Murray’s Little Book of Burlesque Costuming, Vol. 2.
Look how fabulous the panels are! (Photo credit: Harlan)

 Here’s the tricky part. I decided I needed some bad-ass shoes for the number. My character shoes are too cute; ballroom shoes are too dainty. I really wanted to use the shoes at the right, hand-me-downs from Angie Pontani. I’ve wore them on stage before, but not when I was dancing. I was committed to those shoes, because the panels were hemmed for a 5-inch heel. Even with the shoes on, the panels still touched the floor. I really didn’t want to use a lower heel and risk tripping over them. And I was having problems with the shoes… but more about that later.
I’m incredibly pleased with how the whole outfit came out. I love the wine panels against the rhinestoned black. Now that I’ve mastered the rolled hemmer, I suspect there will be even more panel skirts in my future. Stay tuned, Dear Reader, to (eventually) see how it looked in action!
 These writings and other creative projects are supported by my Patrons. Thank you so much! To become a Patron, go to my Patreon page.
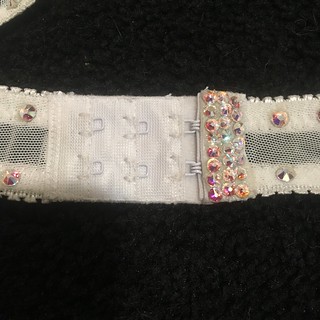 Embellish your bra clasp.
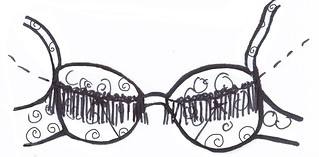
 Removable linings make laundering garments a snap.
 Then I made a bra top and French knickers from
 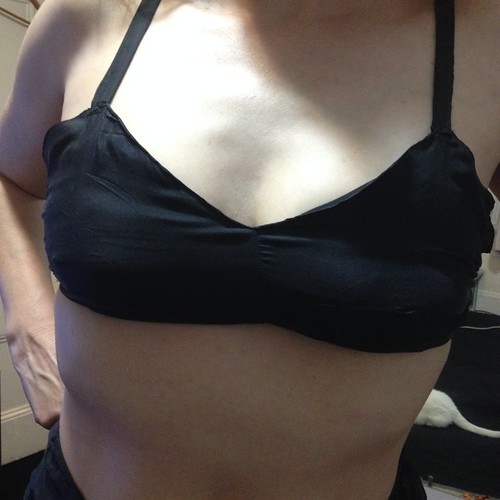 The bra only turned out okay. I didn’t make a muslin first, so it was in progress that I realized the back band was going to be too long and shortened it. After the whole thing was finished, the cups didn’t fit well, so I made some hasty darts, which I don’t love and that tightened up the back band as well, so there’s a gap now. Lesson learned. Anything involving boobs really should get a test fit, but I was feeling lazy.
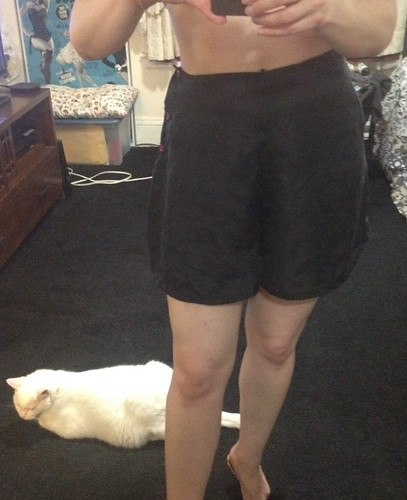 The French kickers (aka tap pants), however, are lovely. They’re cute and comfortable and I love the little red buttons on the side. They should have been much quicker, but I was a total perfectionist here. The waist and leg openings are bound with bias tape and even though the tape is turned to the inside, I just couldn’t bear to use commercial cotton-poly tape. Instead, I made bias tape from the silk. Making your own bias tape isn’t hard with the right tool — a widget that you pull the bias strip through and iron as it comes out with the edges folded under. My problem was that I couldn’t cut a nice, neat bias strip to run through my widget because the silk was so slippery. Scratch, because he’s clever this way, got me a yard-long, inch-wide piece of flat steel and painted one side with grip paint. It held the devilish fabric in place and gave me a nice edge against which to draw a chalk line for cutting.
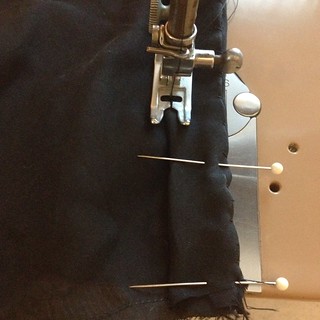 Avoid sewing over pins.
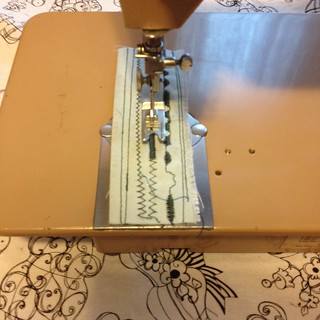 Keep your presser foot down when your sewing machine is not in use and keep a scrap of fabric between the presser foot and the throat plate.
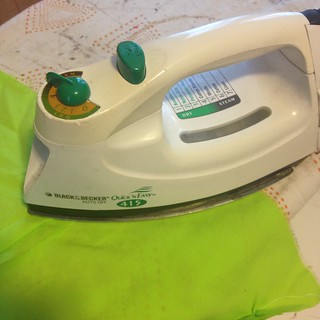 Press your seams.